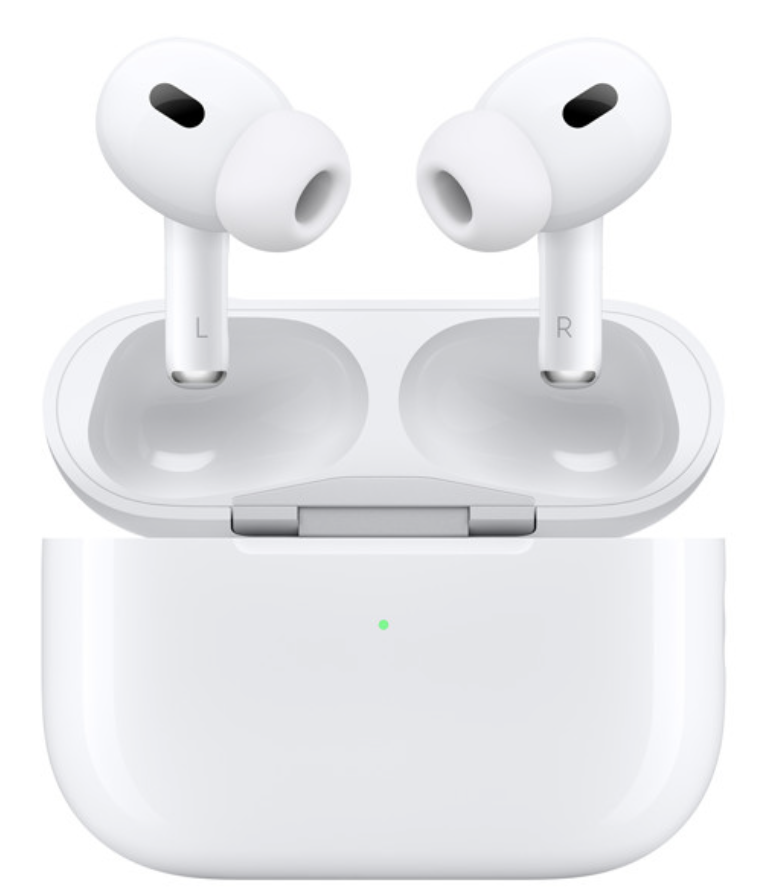
Apple’s AirPods Pro 2 bring a refined listening experience with enhanced features, perfect for music lovers and tech enthusiasts. In this step-by-step guide, we’ll cover everything from setup to advanced features to make the most out of your AirPods Pro 2.

1. Getting Started with AirPods Pro 2
Unboxing and Initial Setup
When you first unbox your AirPods Pro 2, you’ll find:
- AirPods Pro 2 earbuds
- A charging case
- Different-sized ear tips
- USB-C charging cable
Charging Your AirPods
Use the USB-C cable to charge your AirPods case. The LED light on the case will glow amber while charging and turn green once fully charged.
Pairing with iPhone
- Open the charging case near your iPhone.
- A setup animation will appear on your iPhone screen.
- Tap Connect and follow the instructions, including setting up Hey Siri if you’re using iOS 14 or later.
2. Customizing the Fit
Ear Tip Fit Test
- Go to Settings > Bluetooth > Tap the [i] next to your AirPods.
- Select Ear Tip Fit Test.
- Play the test sound to check the fit. If the fit isn’t ideal, try different ear tip sizes for a better seal.
3. Controls and Gestures
Basic Controls
- Play/Pause or Answer/End Call: Squeeze the stem once.
- Skip Forward: Double squeeze the stem.
- Skip Back: Triple squeeze the stem.
- Switch Noise Control Modes: Press and hold the stem to toggle between Noise Cancellation, Transparency, and Off.
Volume Control
Swipe up or down on the stem to adjust the volume.
4. Using Noise Control Features
- Noise Cancellation: Blocks out external noise, ideal for commuting or noisy environments.
- Transparency Mode: Allows you to hear ambient sounds while listening to your audio.
- Adaptive Transparency: Automatically reduces loud environmental noises for a comfortable listening experience.
5. Personalizing Spatial Audio
- Go to Settings > Bluetooth > Tap the [i] next to your AirPods.
- Choose Personalize Spatial Audio.
- Follow the prompts to scan your face using your iPhone’s camera for personalized audio settings.
6. Accessibility Features
- Conversation Boost: Enhances voices in front of you for better understanding in conversations.
- Go to Settings > Accessibility > Audio/Visual > Headphone Accommodations > Transparency Mode > Conversation Boost.
- Background Sounds: Helps with focus or relaxation by playing ambient sounds.
- Navigate to Settings > Accessibility > Audio/Visual > Background Sounds.
7. Battery Management
- Check Battery Levels: Swipe down from the top-right corner of your iPhone screen to open Control Center or ask Siri.
- Add Batteries Widget: Add the Batteries widget to Today View for easy monitoring.
8. Maintenance and Care
- Cleaning: Use a soft, dry, lint-free cloth. For mesh areas like the microphone and speaker, use a dry cotton swab. If deeper cleaning is needed, use slightly damp water-based wipes. Always dry them completely before placing them back in the case.
9. Troubleshooting
- Reset AirPods: Place your AirPods in the case, close the lid, wait for 30 seconds, then press and hold the setup button on the back of the case until the status light flashes amber, then white.
- Update Firmware: Keep your AirPods updated by ensuring they are in their case, near your iPhone, and charging.
10. Advanced Features
- Find My: Use the Find My app to locate lost AirPods or the charging case.
- Auto-Switching: AirPods Pro 2 can seamlessly switch between all your Apple devices logged in with the same iCloud account.
Conclusion
This guide covers everything you need to get started with your Apple AirPods Pro 2, from basic setup to advanced features. Be sure to refer to Apple’s official support for any additional assistance. Enjoy your enhanced listening experience!
